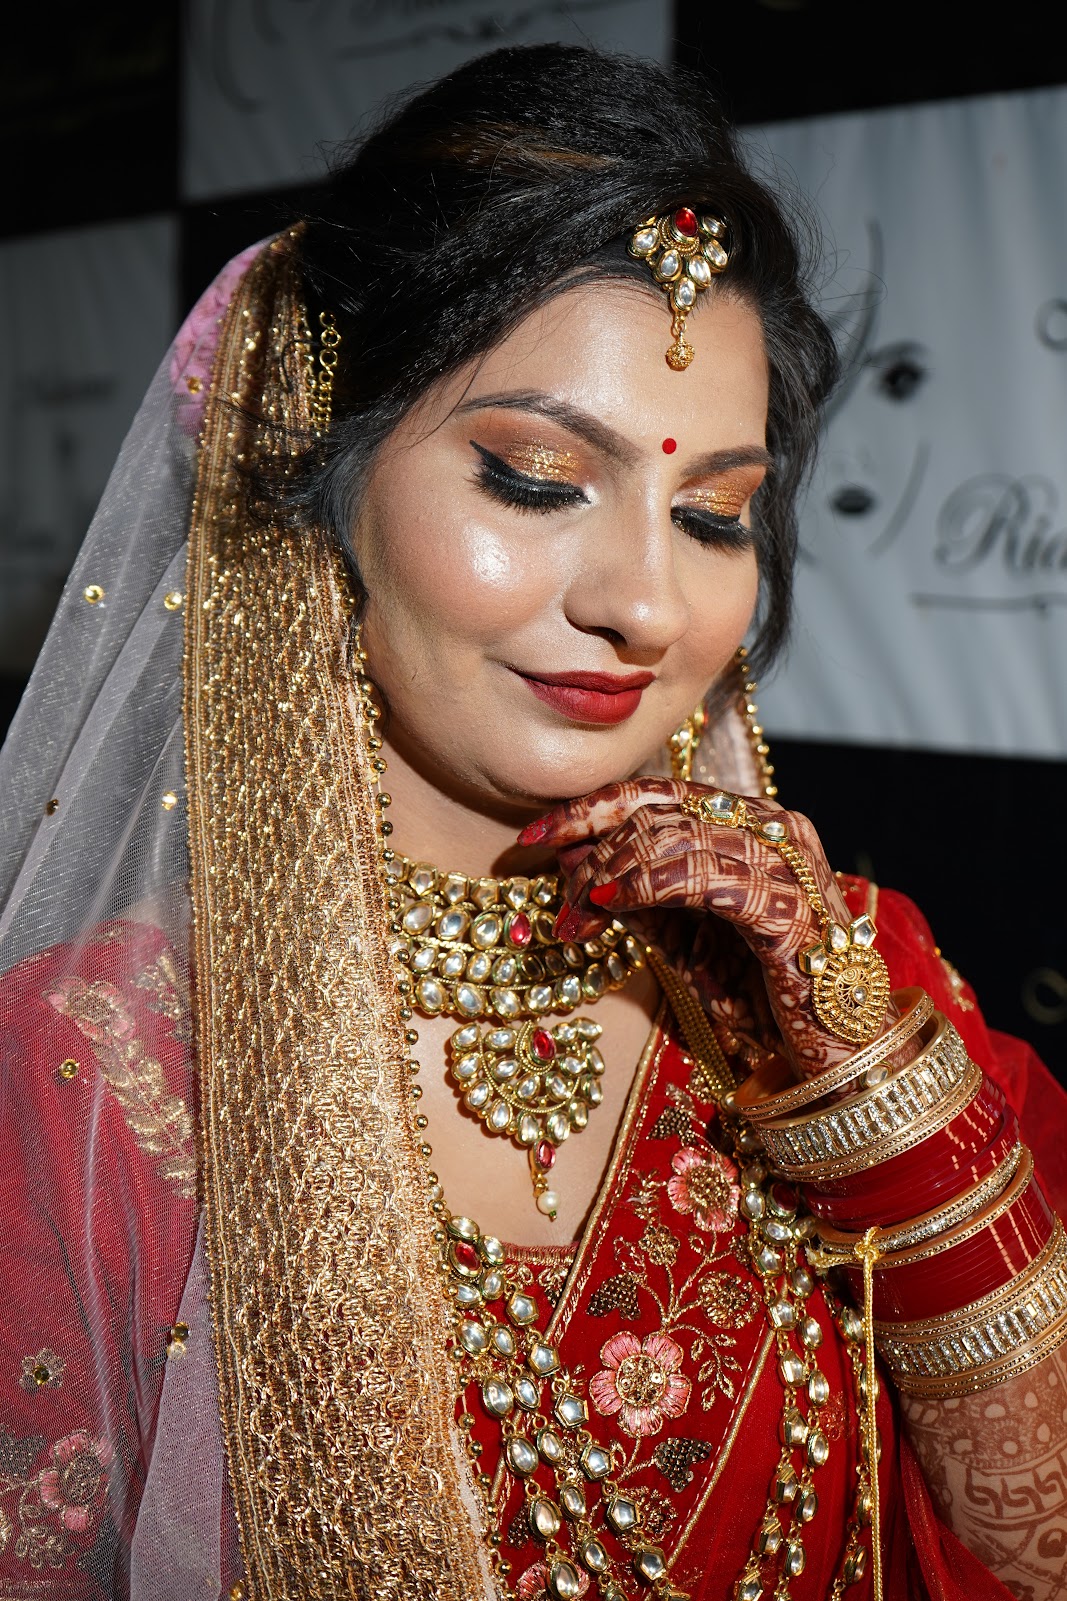
How to mehandi design step by step
Are you looking to design a mehndi on your hand and footstep by step? Then you are at the right place. After reading this article and
seeing all the images you have learned about the charming and beautiful design of
design Mehandi. You can use this art for different events or celebrations. It is a pretty decorator for your hand. It is easy to apply on hand and it will be
removed after some days. It also provides cooling to your heat of stomach
which are you feeling on your hands and feet.
Tutorial of simple
Mehandi design flowery three styles step
by step
The flowering
Mehandi design of following six steps
- ·
Design a dot at the center of the back of the hand then
circle out 3 to 4 times between the circle. Then draw a lope around a complete circle.
- · Sketch a heart-style line 6 times around the
design of 1st step
- ·
Then shade the heart with a thin line simply
- ·
Make a dot in the center of the heart at the boundary
of a circle
- ·
Again bold the boundaries of hearty style lines
- ·
At the last step sketch a design of pair of the leaf at below the right corner of the design which is shown in the followings image
 |
| Flowery-Style-of-henna |
Simple
and attractive flowering style of Mehandi in 4 steps
- ·
Sketch Circle of combined two lines on the back
of the hand
- ·
Then make
inverse commas underside the whole circle
- ·
In the next step make a commas a symbol of leaves
outside of the circle boundary.
- ·
In the end step make a dot at the center of the Whole
circle then circle out around the dot.
 |
| Henna-designe-in-four-step |
Pretty flowery style of
henna at the back of the hand
- ·
Make a dot at the center of the back side of hand
the and draw a circle around the dot. Now makes a loop on the outside boundary of the circle.
- ·
In the 2nd and 3rd steps
again make a dot on the loop of the circle. Keep in mind that makes a dot thick and thin
one by one
- ·
In the 4th and 5th steps
make brackets outside the whole design then bold the brackets
- ·
I think in the image step 7th is
repeated
- ·
In 2nd last step draw a dotted
combined line around the whole design and at the last step sketch the flower
according to the style shown in the image
 |
| Henna-flowery-design-on-back-of-hand |


0 Comments